Alacritty might just be the fastest cross-platform terminal emulator in existence. You can easily customize it to your liking by creating a .ymlconfig file. Alacritty doesn’t create the config file for you, but it looks for one in the following locations:

ALSO READ: An Interactive Terminal-Agnostic Theme Selection Script
Linux/macOS
$XDG_CONFIG_HOME/alacritty/alacritty.yml$XDG_CONFIG_HOME/alacritty.yml$HOME/.config/alacritty/alacritty.yml$HOME/.alacritty.yml
Windows
-
%APPDATA%\alacritty\alacritty.yml
NOTE: you can referrence the default alacritty.ymlconfig file here.
Ok, now that we took care of the config file, let’s apply a theme. You have two options here: You can either search for themes and manually copy-paste the color scheme into your alacritty.ymlconfig file or use a CLI tool called alacritty-themes which comes preconfigured with over 150 themes.
INSTALLATION
- Install with npm:
npm i -g alacritty-themes - If you are using
npxyou don’t have to install the package:npx alacritty-themes - Arch Linux ( and derivates ) users can install alacritty-themes from the AUR.
USAGE
Once installed, all you have to do is run alacritty-themes. Choose the theme from the list of options by typing the theme name and press Enter to apply. You can also navigate with j and k keys for up/down.
The list of options are cycled through automatically so you can go to the last theme by just pressing up arrow key. The search is fuzzy so you can enter any part of the theme name to search.

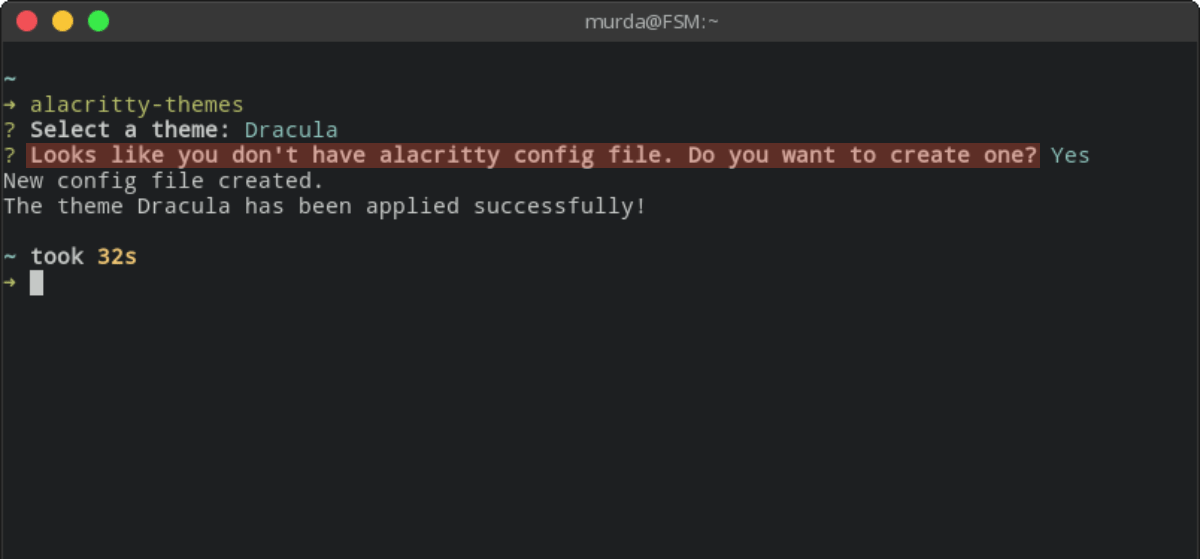
If you don’t have a config file already in place, alacritty-themes will create one for you. Applying a theme will take immediate effect. Otherwise, just restart alacritty.
Also, you can alias alacritty-themes to at to save time.


