GIMP is a replacement for Photoshop. You must’ve heard this before, but let’s be honest, that’s not really true.
If you’ve never used Photoshop before, don’t even think about it. Go for GIMP, it’s fantastic. But if you’ve only worked in Photoshop, moving to GIMP is a steep learning curve that will at least double the time for your project. Not to mention that collaboration and everything that goes with working in Photoshop goes out the window. Sort of…
Luckily there’s a cross-platform project called PhotoGIMP that will patch GIMP to look and feel more like Photoshop so your transition will be as smooth as possible. The patch will simplify GIMP’s user interface to resemble Photoshop, it will replace GIMP’s shortcut keys with Photoshop’s shortcut keys and installs plugins, fonts and brushes.
PhotoGIMP FEATURES
- Tool organization to mimic the position of Adobe’s Photoshop;
- Hundreds of new fonts by default;
- New Python filters installed by default, such as “heal selection”;
- New Splash Screen
- New default settings to maximize space on the canvas;
- Shortcuts similar to the ones on Photoshop, following Adobe’s Documentation;
- New icon and Name from custom .desktop file.
- The new default language is English (you can still change in the Settings if you want)
INSTALATION
First things first… Download and install GIMP. Although I assume you already have it installed, otherwise you wouldn’t be interested in this tutorial.
Now let’s start with macOS and Windows as they are the easiest ones. Not that the process on Linux is much more complicated, but we’ll have different scenarios.
Go to the official PhotoGIMP Github repo, click on Code and download the .zip file.

When you unzip the file, on macOS the folders you need are hidden. Here’s how to toggle visibility o fhidden files. The folders are hidden because the name of the folders start with a .. On any Unix based system, any file or folder that starts with a . ( commonly called a dot file or dotfile ) is hidden. On Windows you won’t have this issue.

Now that you have everything you need, let’s start patching GIMP. I’ll start with macOS….
1. In the unzipped folder, go to .var/app/org.gimp.GIMP/config/GIMP/. You will need the 2.10 folder in a minute.

2. Now open a new Finder window and go to ~Library/Application Support/Gimp. NOTE: The Library folder is hidden. Here’s how to access the hidden Library folder on macOS.
3. Here you’ll have GIMP’s default 2.10 folder. You might want to backup the default folder before patching GIMP. Just drag and drop it from its location to Desktop for example.

4. Just replace the 2.10 folder from the downloaded file to the ~Library GIMP folder.
5. Now, open GIMP. You will see a new splashscreen and GIMP will be patched.

On Windows…
The process is exactly the same as on macOS. You’ll need the 2.10 folder from the unzipped file to replace the default folder that ships with GIMP.
The question is, where to copy the patched 2.10 folder? The path is C:\Users\YourUsername\AppData\Roaming\GIMP\.
On Linux… GIMP as a flatpak…
1. Download the .zip file from the releases page and unzip it.
2. In the unzipped folder, toggle the visibility of hidden files
3. Now copy ( merge and replace ) .icons, .local and .var to /home/$USER
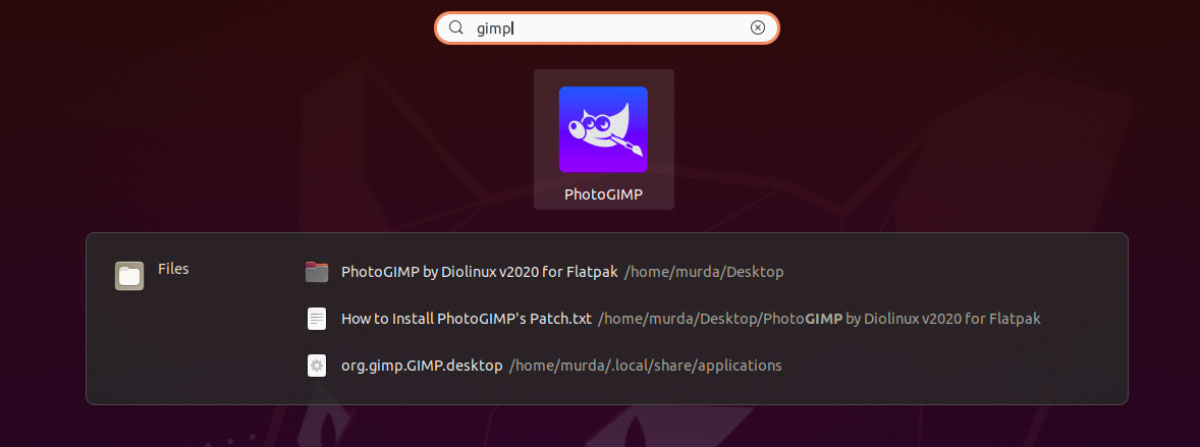
4. Now, open GIMP. You will see a new splashscreen and GIMP will be patched. You’ll also notice that GIMP has a new icon and GIMP was renamed to PhotoGIMP, however you might need to logout first.
NOTE: If you just want the PhotoGIMP customization without changing the original GIMP icon and it’s name, just extract only the .var folder to your home directory.

On Linux… as a snap, .deb, .rpm etc
1. Follow step 1-2 from above.
2. On step 3 ( above ), copy the folders to
- Snap –
/home/$USER/snap/gimp/47/.config/GIMP/2.10/ - .deb, .rpm –
/home/$USER/.config/GIMP/2.10/
That’s pretty much it. For more info and troubleshooting visit the official project repo on Github.


