
Virtual Machines ( VM ) are great. They allow you to emulate additional operating systems, each in their own individual window, on the same computer. For example, your can run a Linux instance in a VM on your Mac or Windows PC.
There’s plently of choices out there. Being VMWare, Parallels or VirtualBox.
Linux users also have the option of using KVM/QEMU/libvirt and a graphical client like Virt-Manager. We talked about KVM and QEMU before, when we went over how to install macOS on Linux.
Virt-Manager is not the only the only client that works with libvirt, there are other clients out there and one of them is the subject of today’s tutorial: GNOME Boxes.
As stated before just like Virt-Manager, GNOME boxes is also a front-end to KVM/QEMU/libvirt however unlike Virt-Manager, GNOME Boxes doesen’t have as many settings.
In fact it kinda offers the bare-minimum, and that’s not necessarily a bad thing.
So, let’s take a look at how to install and use GNOME Boxes.
ALSO READ HOW TO: Create Disposable VMs in VirtualBox, GNOME Boxes and KVM/QEMU/Virt-Manager
INSTALLATION
GNOME Boxes should be available in any distro’s official repository. Installing Boxes from the your distro’s official repo, should also install the required dependencies.
If you prefer, Boxes is also available as a flatpak.
USAGE
When you first run Boxes, you’ll get a simple UI. No bells, no whistles.
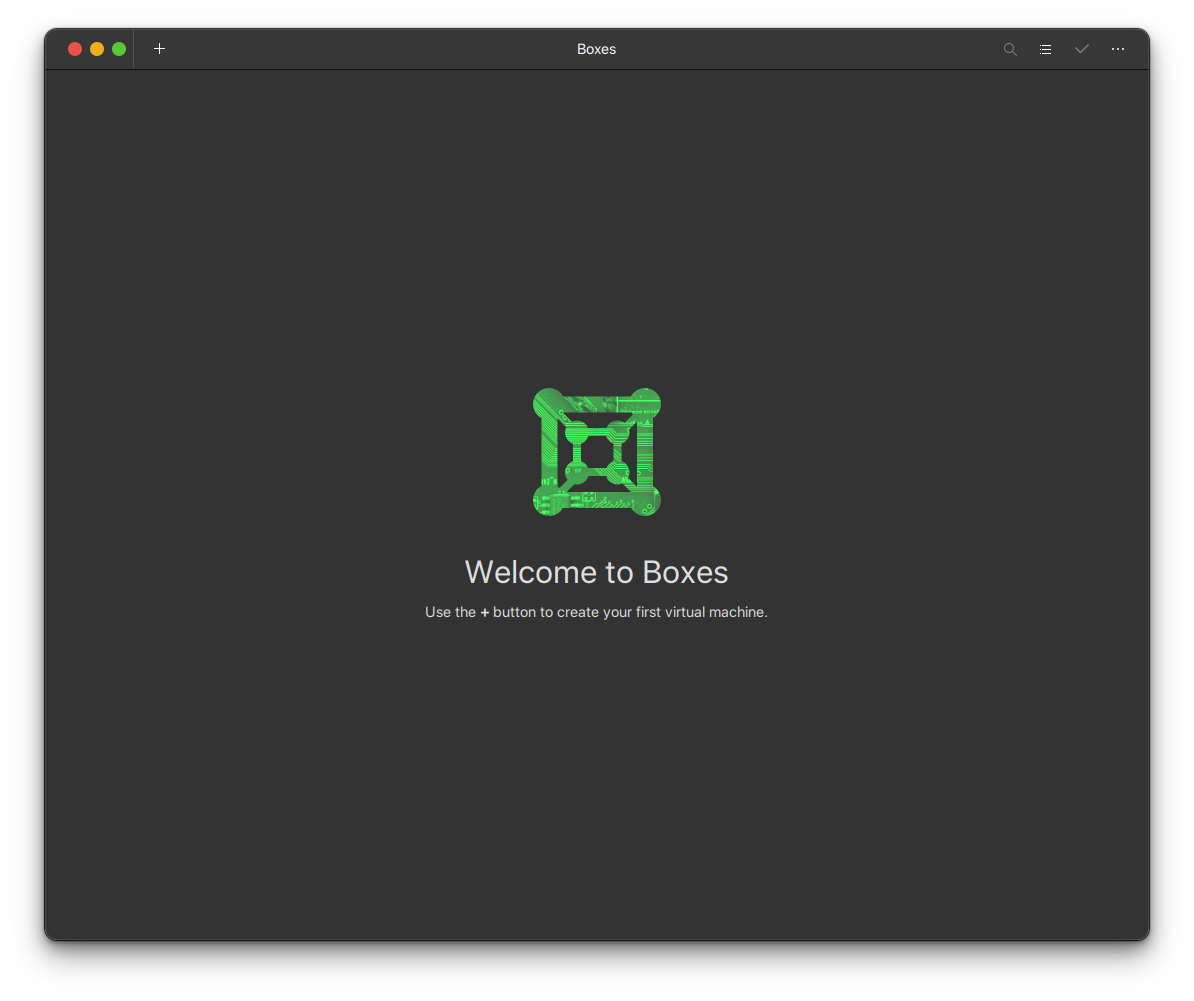
If you click on the menu ( top right corner ) you can check out the availble keyboard shortcuts.


To create a Virtual Machine, simply click on the + button ( top left corner of the window ).

NOTE: If you already have .iso files downloaded on your computer, most probably Boxes will autodetect them.

Here’s where the fun begins. Boxes gives you the option to download OS images or use your own images.
Being a Red Hat project, of course Fedora is a featured download. I have no idea why Ubuntu server is a featured download tho.
They do say that “unlike some other virtual machine management software, Boxes is targeted towards typical desktop end-users.”
If you’re looking to install something other than Fedora or Ubuntu Server, you can click on Operating System Download under Select OS Source.
You will see an extended list, and you can directly download .iso’s for Manjaro, GNOME OS, OpenSUSE, FreeBSD, Debian, NixOS, Ubuntu and many others.
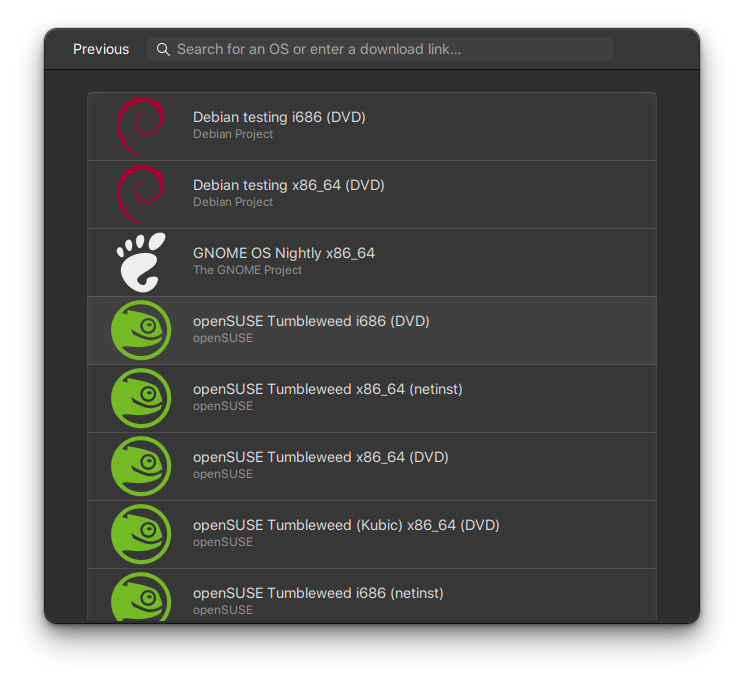
If you want to use this option, all you have to do is click on the OS you want to install and the download will start instantly.
The .iso image will be downloaded to your ~/Downloads folder. Once the download has finished, Boxes will prompt you to customize the VM and start the installation. We’ll go over the process in the next step.

If you want to install your own downloaded .iso you can click on Operating System Image File under Select OS Source.
This will allow you to browse your hard drive and choose the manually downloaded .iso file.
Unlike the auto download, depending on the OS you want to install, Boxes might not be able to detect the OS you’re trying to install. So you’ll have to set the Template manually.
To do that, click on Template > Unknown OS, search and choose the one that applies to the OS you’re trying to install.
For this demo, I’m going to install EndevourOS, so I’m going to choose the Arch Linux template.


On the next screen you’ll see a short list of properties for the VM you’re trying to set. You can “customize” the resources that you want to allocate to the VM, however, don’t expect much.
Boxes only allows you to set the RAM and disk size that you want to allocate to the VM.


Once you’re done “customizing” your VM, all you have to do is click on “Create” ( top right corner ) and your VM will start and you can go through the installation process.

When the installation is done, you can restart and start using your new VM.
Interface
There’s a couple of things you can do even if the VM is running. There’s not much to say when it comes to Boxe’s UI. However, I’d like to point out a few things here.
1. If you click on the ⌘ button, you can send different commands to the guest machine.

Like accessing the TTY…

2. Clicking on the menu button ( top right corner ) and going to Properties you’ll have further options.
For instance, by accesing the System tab, you can set the CPU ( and other options ). An option that you couldn’t adjust initially. I don’t know why.

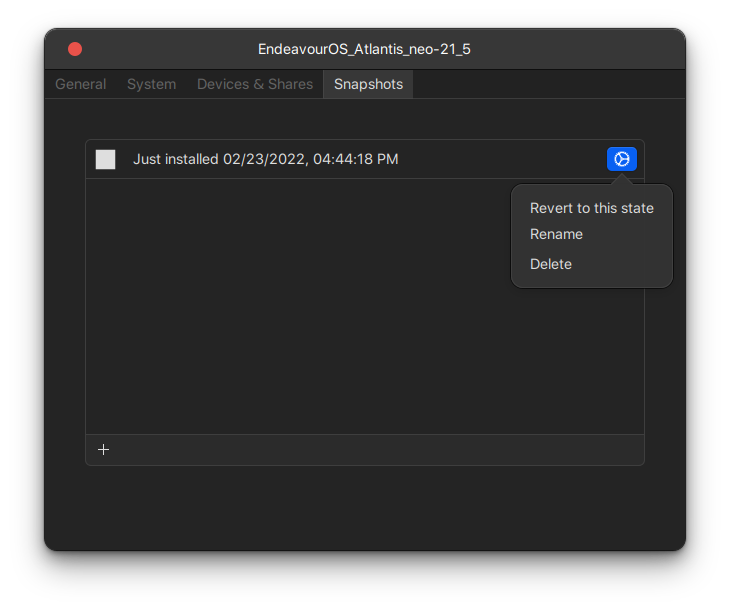
Clicking on the Snapshots tab, you’ll see a list of snapshots for that particular VM, create a new snapshot and even restore your VM to a previous state.
3. Clicking in the < button ( top left corner ), even while the VM is running, you can go back to Boxe’s VM manager window and you can either right click on an existing VM for more options or you can even create a new VM.

Tweaking
Depending on what’s your need for the newly created VM and the OS you’re using, you might be perfectly fine with just installing the OS.
However, depening on the OS you’re installing, some things might not work out of the box. Like the guest resolution when scaling the VM window. For example, EndevourOS won’t scale out of the box.
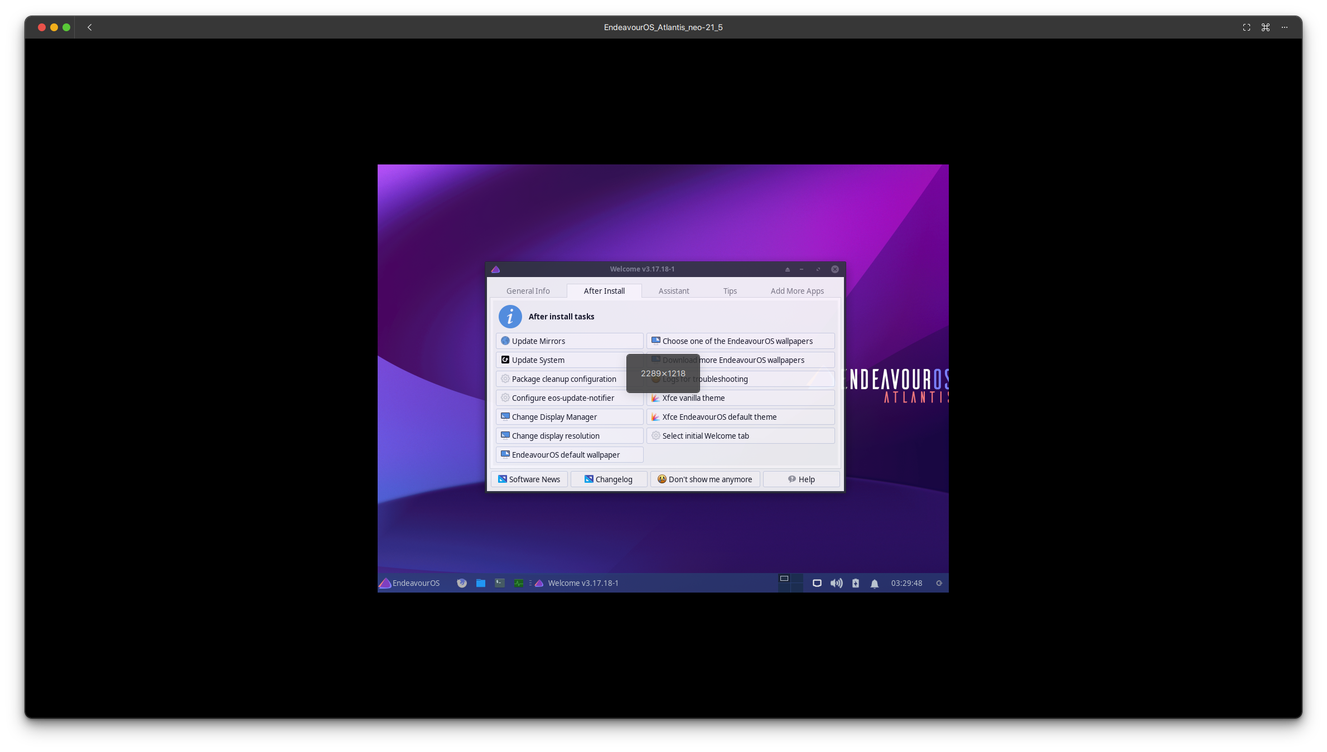
To fix that, you need to install spice-vdagent and spice-protocol and reboot your VM.
NOTE: While express installation typically takes care of making shared clipboard available to you, express installation is not available for all operating systems. spice-vdagent takes care of that.
If you’re choosing Windows as your guest OS, install spice-guest-tools

Copy-Paste works bidirectional ( host to guest and viceversa ), however sharing files works only from host to guest via drag-and-drop.
To share files from guest to host you will need to install phodav ( or spice-webdavd ) and reboot your VM.
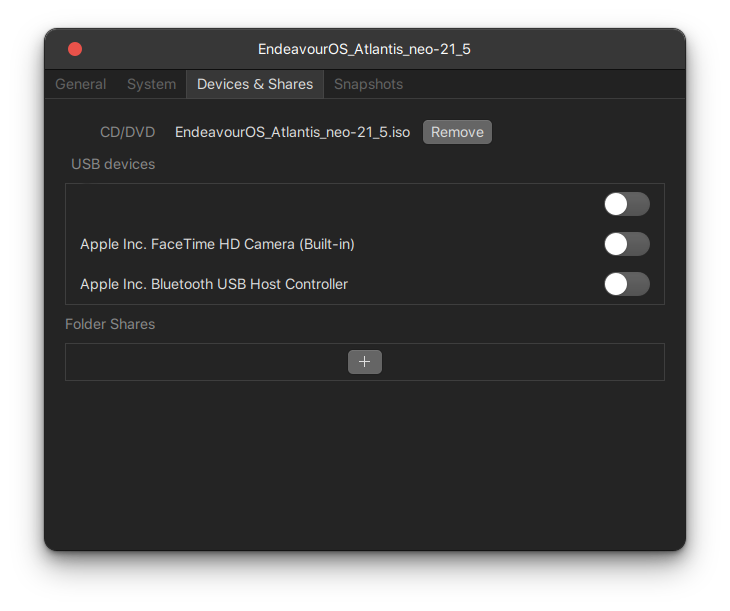
Once one of those packages above is installed, go to the settings menu and choose properties.

Now go to Devices and Share you’ll see a new option called Folder Shares. Just click on the + button to add a folder on the host machine that you’d like to share with your guest machine.
If no folder is selected, your ~/Public folder is the default one.

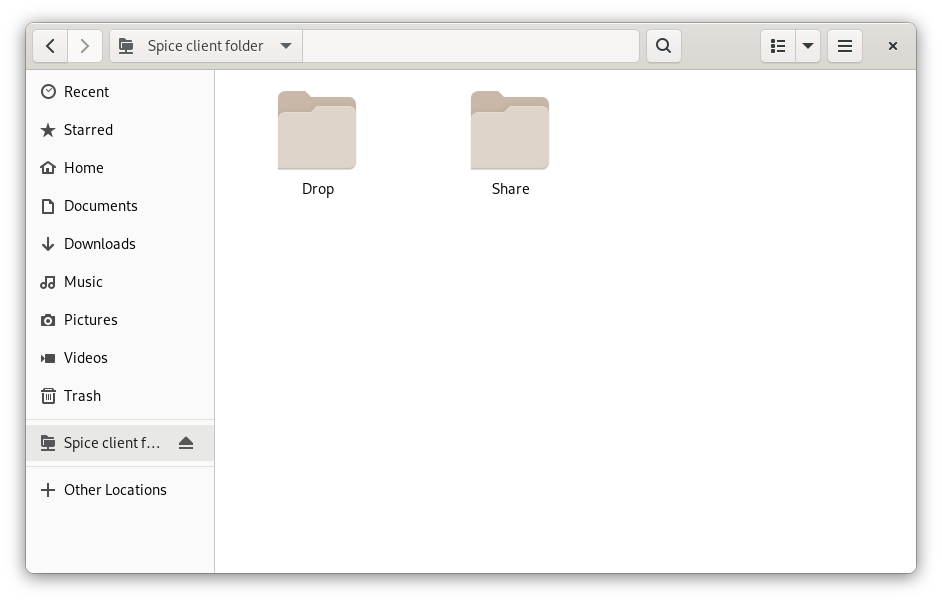
You will be able to access your shared folder(s) from inside the guest machine. In case the Spice client folder device doesn’t show up at first, make sure to refresh the file manager.

Another issue that you might run into, is the location of your VMs. By default, all your Boxes VMs are stored in ~/.local/share/gnome-boxes/images/.
Since I’m running Linux as a daily driver on an iMac, and I have a 120GB drive, I’d like to change the location of a second drive.
So how do you do that? Firt move the VM file from the default location to the desired location.
Then open up your terminal and create a symbolic link back to the default location by running ln -s path_to_where_you_moved_the_vm ~/.local/share/gnome-boxes/images/
That’s pretty much all the info you need to get up and running with GNOME Boxes.
It’s definitely an alternative to VirtualBox, and if you like to mess around with Virtual Machine I think you should give it a try.


