So what the hell is Whonix?
Whonix is a desktop operating system designed for advanced security and privacy. Whonix mitigates the threat of common attack vectors while maintaining usability. Online anonymity is realized via fail-safe, automatic, and desktop-wide use of the Tor network. A heavily reconfigured Debian base is run inside multiple virtual machines, providing a substantial layer of protection from malware and IP address leaks. Commonly used applications are pre-installed and safely pre-configured for immediate use. The user is not jeopardized by installing additional applications or personalizing the desktop. Whonix is under active development and is the only operating system designed to be run inside a VM and paired with Tor.Jump over the break to learn how to get whonix up and running….
What you need:
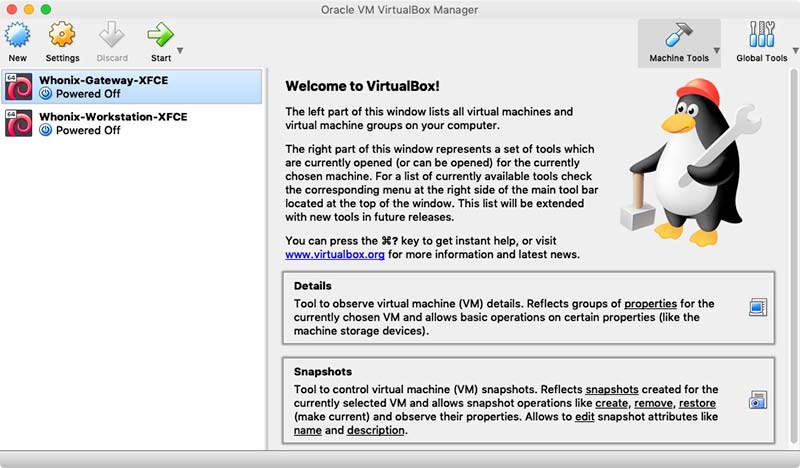
1. VirtualBox
2. Whonix. It comes as one .ova file for both Gateway and Workstation. Just download it and import it as shown below.
How to:
1. Download and install VirtualBox
2. Go to File
3. Select the Whonix Gateway image and click “Continue”
4. Do not change anything, just click “Import”
5. Click “Agree”
6. Wait for Whonix-Gateway.ova to be imported
7. Repeat the same import steps for Whonix-Workstation.ova
7.1 What is Whonix Gateway and Whonix Workstation?
- Whonix Gateway is what configures the whole machine and route all traffic through the Tor network. You will need to run it while running the Whonix Workstation but you will have little to no interaction with it.
- Whonix Workstation is where you operate as a user. Basically the OS.
NOTE: remember you need to run both Gateway and Workstation
8. In VirtualBox open both Whonix Gateway and Whonix Workstation. This is done by either selecting them and clicking on start button ( one with the green arrow ) or double-clicking on them.
NOTE: ALWAYS start Gateway first and Workstation second
9. Once Whonix Gateway is loaded, it will ask you to connect to the Tor Network. This is easily done through the wizard. Click Next on both screens and wait for Gateway to connect.
10. Once Gateway connects to Tor, it will start looking for update and will display this message. Click OK.
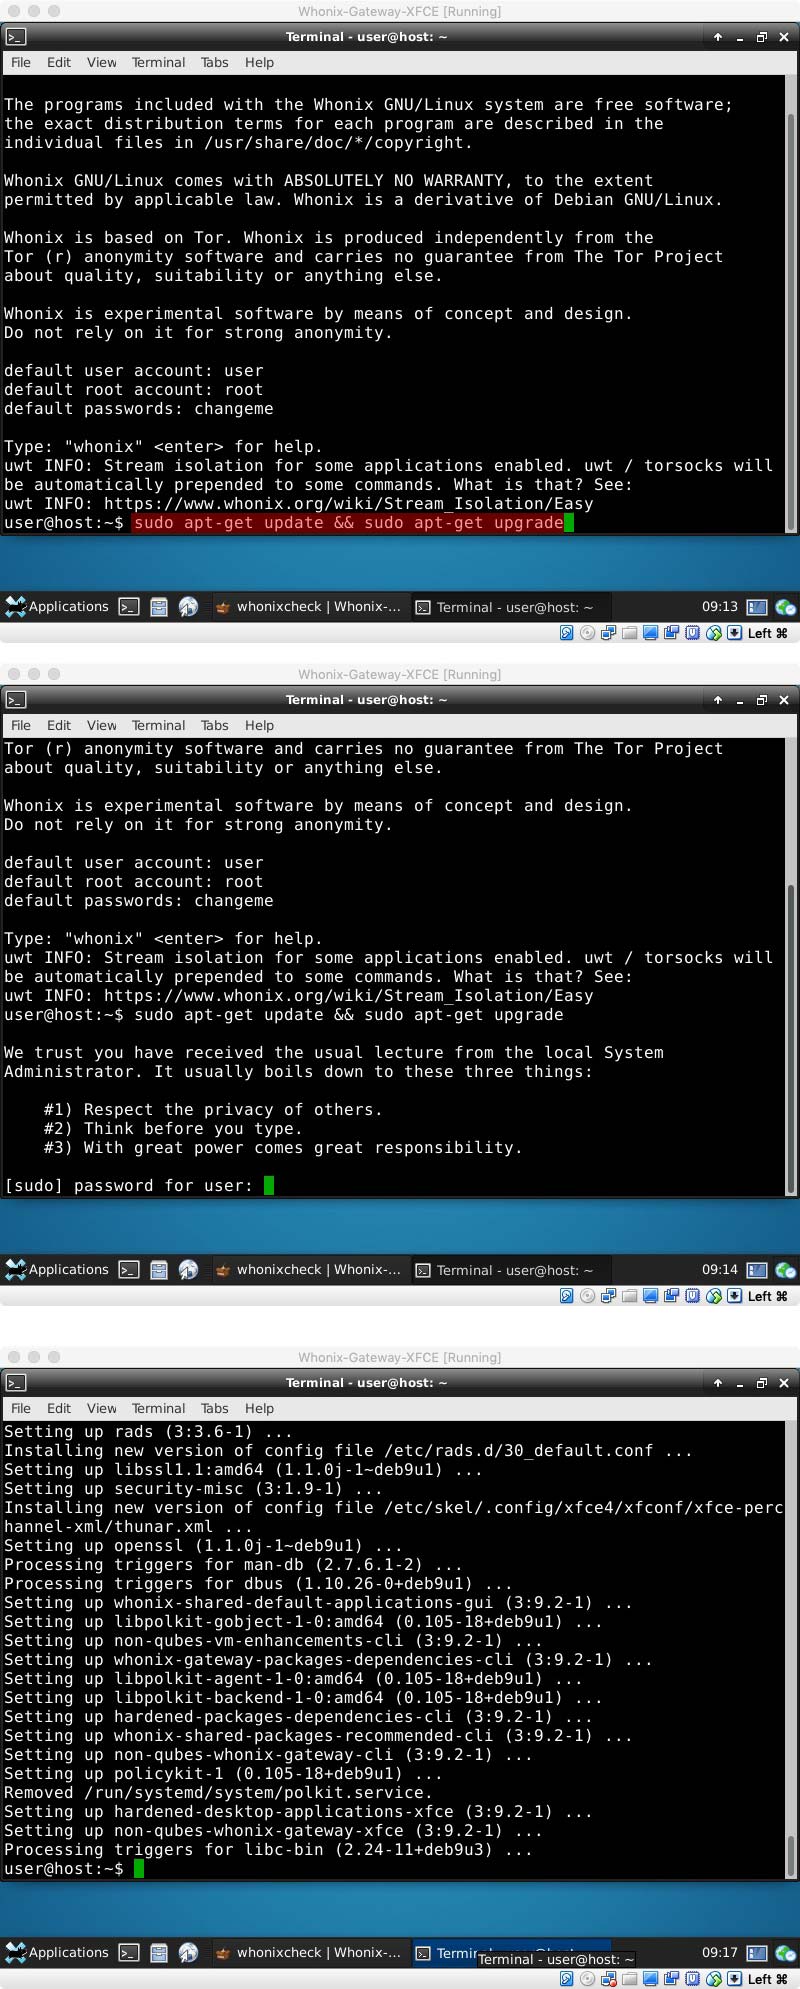
11. Open the terminal ( first icon next to Applications on the bottom left corner ) and type sudo apt-get update && sudo apt-get upgrade .
When prompted, type in the password. The default password is changeme. You will want to change the password but for now use the default one.
12. Now on the Workstation window, it might’ve started checking for updates too.
If not, go to Application ( bottom left corner ) > System > WhonixCheck. When done it will display this message.
13. Open terminal and type sudo apt-get-update-plus dist-upgrade. . Same process as with the Gateway
14. Now let’s change those passwords. By default the password is “changeme”
15. To change the password in the terminal type:
- sudo su
- type default password if prompted ( remember, default password is changeme )
- type passwd
- enter your new Administrator password. you need to enter it twice ( you won’t see that you’re typing )
- type passwd user
- type your user password twice
You’re pretty much done. A few notes:
1. Make sure you run a system check on both Gateway and Workstation regularly. Keep both of them updated.
2. Never maximize the browser to full screen. If you need to make it bigger manually adjust the window size.
3. Open Tor ( browser ) and, on the main page, first do an IP Check to see if be browser is configured to use Tor and most importantly click on Docs and do some heavy reading.


